Archive

Archive for the ‘What I Made Today’ Category

BLT+A-L With Well-Spread M: A Just Right Sandwich Formula.

January 17th, 2012 No comments

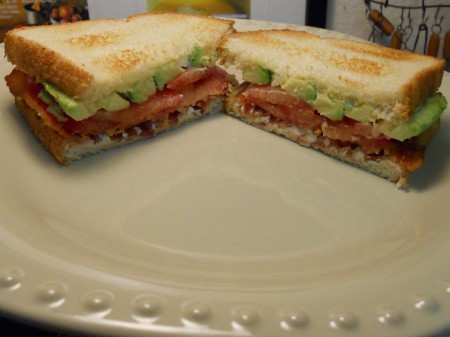
BLT+A-L on Toasted White Bread with the perfect amount of Mayo — It’s how my Mom always made it and how I do now.  It’s just right.  We rarely add the Lettuce and mostly opt for Avocado with the Bacon and Tomato.  It’s technically a BAT or BTA, a tasty Sandwich.

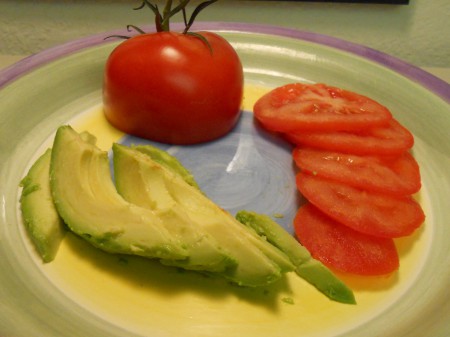
Bacon, Tomato and Avocado — Layer in that order on Toasted White Bread with Mayo.

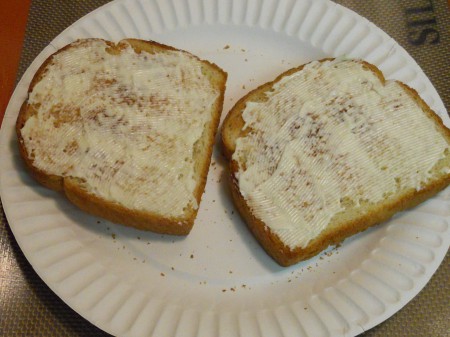
The amount of Mayo is key, not too much, nor too little — Mayo oozing out the sides is gross and not enough is dry.  I didn’t want any Mayonnaise on it as a kid and my Mom would add it when I wasn’t looking.  She knew, and I now know its compliment, when properly applied.

It’s a simple, flavorful Sandwich that consistently hits the spot with a cold glass of Milk.

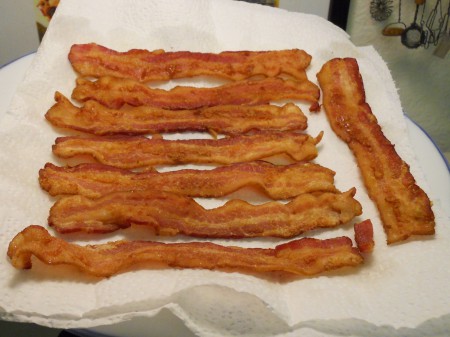
A comfort food for years — With leftover or microwavable Bacon, it can be made in a flash.

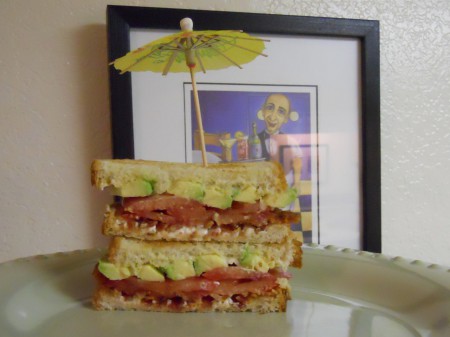
Umbrella optional, unless it’s raining.

Sun Dried Tomato Dip: Flip This Dip Into The Onion It’s Meant To Be.

January 15th, 2012 No comments

Searching for a Dip to utilize a jar of Sun Dried Tomatoes, I came across Ina Garten’s Sun-Dried Tomato Dip or a variation of it, over and over again.  It didn’t sound all that terrific to me, but thought it had to be good if people keep making it — Well, that’s not necessarily so.  I didn’t like it.  Similar ingredients make more sense in Ina’s Pan-Fried Onion Dip, which is phenomenal.

Spotlight On The Most Searched Recipes: Spinach Artichoke Dip.

January 4th, 2012 No comments

One of the most searched recipes on Nibbles of Tidbits is a copycat of Houston’s Chicago-Style Spinach Dip — To me (and confirmed by others), it captures the flavor and texture of Houston’s tasty Dip.  It’s a respectable recipe (linked above) that holds up well to this simplified variation.

The pictured Spinach Artichoke Dip was prepared using the same recipe, without the Heavy Cream and alternatively increasing the Sour Cream from 1/2 to 3/4 Cup — This may be the better recipe (below), if too much Water is in the Spinach.  Mix and bake pictured ingredients.

Bake in one to four dishes for an appetizer or individual side, depending on the crowd.

Spinach Artichoke Dip Recipe (a variation of this copycat)

Mix all ingredients together well, then transfer mixture to an oven proof dish and bake at 350° for 30 – 35 minutes.  Let cool slightly and serve with Tortilla Chips, Bread or Vegetables.

1 (16 oz.) Bag of Frozen Chopped Spinach, thawed and squeezed, drained of water

1 (12 oz.) Jar of Marinated Artichoke Hearts, drained and chopped (Unmarinated is fine)

1 Large Garlic Clove, minced or pressed

1 Cup of Mozzarella Cheese, grated (Jack Cheese may be substituted)

2/3 Cup of Parmesan Cheese, grated or shaved

3/4 Cup Sour Cream

One dish to freeze for another time is good too.

Note:  The spotlight should also be cast on the following for being amongst the Top Five Most Searched Recipes in 2011:  Houston’s Braised Red Cabbage with Goat Cheese, Chipotle Barbacoa Beef, Amish Friendship Bread and Oven Baked Ribs.  Enjoy — Happy 2012!

Chilled Tomato And Cucumber Gazpacho, Not Mexican Shrimp Cocktail.

December 27th, 2011 1 comment

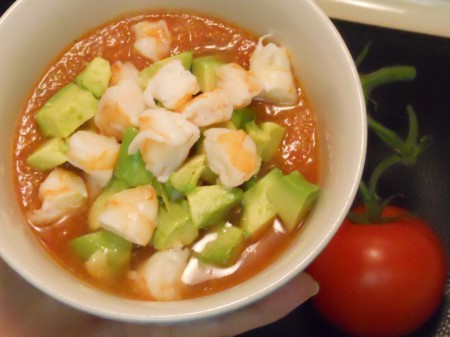
The posted RECIPE is an Award WINNER and officially named Chilled Tomato and Cucumber Gazpacho.  It’s not a Mexican Shrimp Cocktail silly — Duly advised, but it reminds me of one.  Either way, it may be the best I’ve had.  It’s fresh tasting, flavorful and super easy to make.

Chilled Tomato and Cucumber Gazpacho

3 ripe Tomatoes, cored and cut into large cubes [I seeded them]

1 Cucumber, peeled, seeded and cut into large cubes [I didn’t seed it; used an English Cucumber]

1/2 Green, Yellow or Orange Pepper (or tricolor combo), diced [I used half a Green, half an Orange]

1/2 Shallot, or 1 Tablespoon Red Onion, diced [Shallot]

1/2 cup Scallions, chopped

Juice of 1 Lime

1 T. Extra Virgin Olive Oil

1 T. Worcestershire Sauce

1/2 t. Tabasco [or other hot pepper sauce, like Red Rooster, which I now like better–use 1 T.]

1/2 cup V-8 Juice [buy one small bottle at a liquor store; grocery stores only sell it by the case!]

Lemon Pepper to taste

Seasoned Salt to taste

Instructions

Combine all Soup ingredients in blender until well blended (ingredients will retain some pulp, which is great).  Pour into chilled bowls and garnish as desired.  Makes 1/2 gallon–6 appetizer servings or 3 main dish servings.  Tastes better if you make it the night before.

Garnish (with one or more)

1/2 lb. chilled, cooked Shrimp [buy the fresh $10 Shrimp tray from Costco; scarf the leftovers with the Cocktail Sauce]

1 chilled, sliced Avocado

1 T. fresh Cilantro, chopped

Follow and vary the RECIPE to your taste — Above [brackets] indicate specifics by Arlene T., 2011 Best Appetizer Winner.  She agreed to share all on Nibbles of Tidbits and we thank her.

I recently made the same for a Holiday Party and everyone loved it well chilled in a cup.

Classic What Not To Do: Boiling Lobster And Prematurely Diving In.

December 17th, 2011 No comments

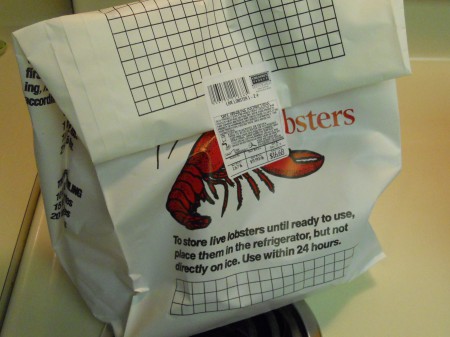
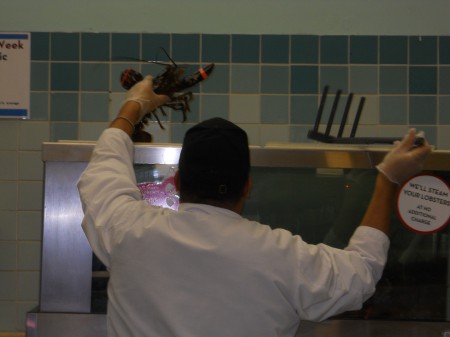
You can lead a Lobster Claw to Butter and Lemon, but you can’t make it taste good.   Well, it appears I can’t.  Maybe you can.  Lobster Claws often seem rubbery and too bland to me.  I’d been craving Lobster for some time now and was told it’s on sale at Gelsons.  It was time.

On the way home from work with nothing planned, I decided to treat myself, so I thought.

That all sounds terrific, but I gotta kill it.  Oh crap, I’m having a flashback.  First in ten, don’t do it again — In other words, I bought my first Live Lobster over ten years ago, but had someone else prepare it.  I just couldn’t do it.  And it didn’t help that a friend was holding it up like a puppet saying…”Don’t kill me.”  I now remember it’s not an enjoyable process.

Just Do It — I was fairly prepared to cook it this time, but discovered new issues.

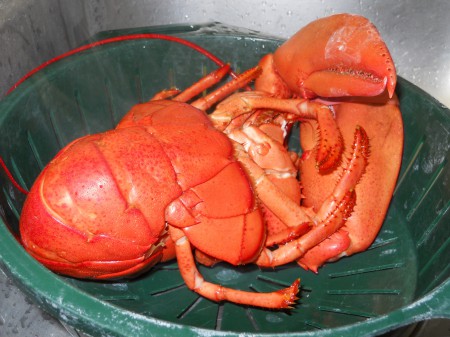
I followed the boiling instructions above, though think steaming Lobster is probably better.

Unfortunately this process did not yield the generous, tender, sweet meat I was hoping for.

This Lobster’s meat was tough, semi-sweet, watery and sparse — Not good.

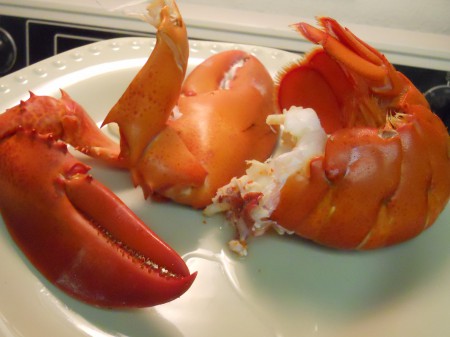
And then there’s the Lobster Roe in the middle of the tail, which appears to run parallel to the Lobster’s waste/vein/poop, I don’t know.  I removed both before eating the tail meat.  Not fun.  And the worst part is prematurely diving into a cross-section of the Lobster Tail, before discovering the roe-poo — Yuck.  Though some consider it a gourmet treat, I don’t.

After all was cut out, there was hardly any meat — My Lobster naivety is gone, I think?!

I learned a lot, and firmly prefer that a grilled, cleaned, fat Lobster Tail (only) be served to me.

Gelsons will steam the Whole Lobster for you at no extra charge — I was tempted, but had to prepare it (at least once) myself.  Check, done.  It’s not as easy and fruitful as it seems.

Chicken Is Always Better Pounded If The Timing Is Right.

November 30th, 2011 No comments

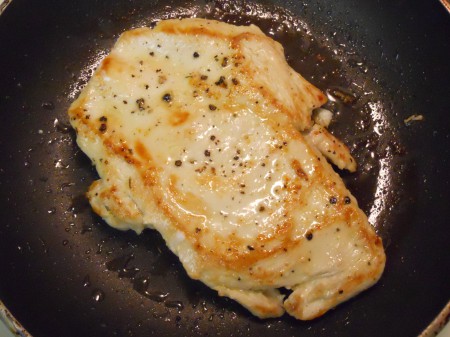
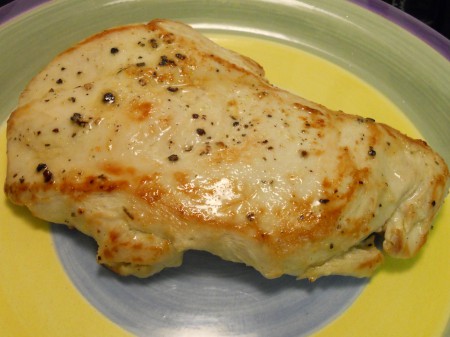
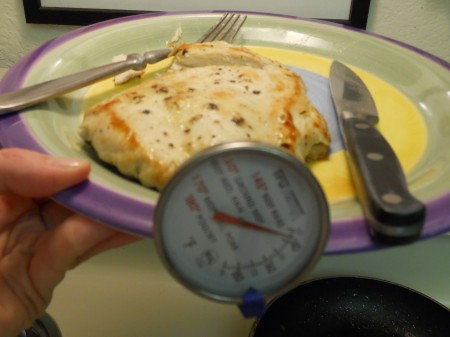
Does the Chicken Breast above look like Opie or the guy on Mad Magazine or a Sock Monkey, or is it just me?  This is the Chicken Rorschach Test, a psychological test you can eat. 

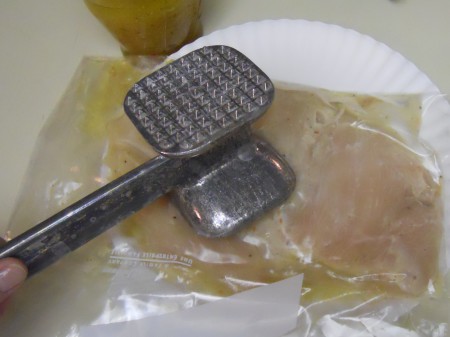
Kitchen Exercise: Pounding Chicken — It’s all the rage for even (and faster) cooking.

I’m learning it’s best not to over-attend to certain things.  Simple is truly best.

The Chicken was flipped once after turning golden brown — I cannot put forth the process better than A Sweet and Savory Life, who helped me really get the best stove-top method.

Anna And Frankie’s Meatballs On A Monday: Baked Not Fried.

November 14th, 2011 No comments

The Best Meatballs in the World are Anna and Frankie’s Meatballs at Rao’s — I have Rao’s Cookbook and make ’em all the time.  No other Italian Meatball recipe will be necessary.  Rao’s all the way!  Also, instead of frying Meatballs, I always bake them, which is easier and they still turn out fantastic.  Pictured is Moroccan Kefta prepared for a food competition last year.

What Happens When You Eat Grilled Asparagus?

September 11th, 2011 No comments

What happens when you eat Grilled Asparagus?  The same thing that happens when you eat any Asparagus.  The answer is here.  Grilled Asparagus is so simple yet dang good!  The pictured were tossed with Italian Dressing and grilled about 5 minutes — Toss and turn ’em until nicely charred, then plate and eat.  Or how about Bacon Wrapped Asparagus?

Bonafide To Blog: Who’s On First (Twice), Third Place.

August 4th, 2011 No comments

It’s an exciting year at the Orange County Fair — More Culinary Arts Competition ribbons won.

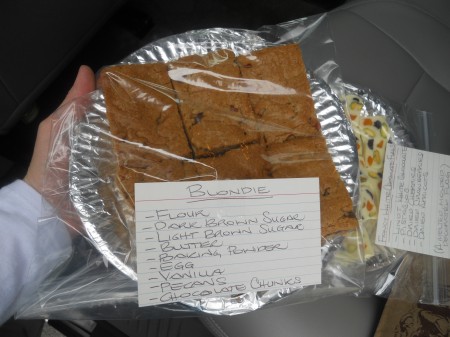
In the 2nd Show, I happily accept another First Place Ribbon for my Snickerdoodle Scones and a Third Place Ribbon for my Blackberry Mascarpone Cheesecake.  And still delighted about the First Place Ribbon received for Blondies prepared for the 1st Show — I feel lucky.

Didn’t win anything in the Blog Post Competition on display above, but maybe next year.

Our Guest Blogger, Bonnie won a Second Place Ribbon for her professional table design.

And thought the above was adorable — Entered in the Crafts & Hobbies Competition is a mini replica of the Table Design Competition.  It’s rightly a First Place and Division winner.  Congratulations Donna!  The OC Fair is happening now through August 14, 2011.

Yeah!

It’s Delivery And Judgment Day At The Orange County Fairgrounds.

July 13th, 2011 2 comments

The Orange County Fair starts this Friday, July 15th and the Culinary Arts Competition entries were due today.  It’s now baked, done and delivered and out of our hands.  The Judges are deliberating and ribbons are being awarded.  Will there be one waiting for me?  We will see.

I like driving on the fairgrounds when it’s not open — It’s like a ride. 😉

For the first show I made Blondies and a Confection, Fancy White Chocolate Flags — Ribbon winning recipes shall be linked and posted.  The results are publicized on opening day.

How To Make Lychee Ice Cream: Recipe For Your Ice Cream Maker.

July 11th, 2011 No comments

Rock Salt and Ice are no longer needed to make homemade Ice Cream.  I’ve been wanting a new Ice Cream Maker for years, but really didn’t need one since my old fashioned one is still trucking along.  That’s great, but the pictured Ice Cream Maker was on sale for a price I couldn’t pass up.  I feel a little guilty about it, since it’s nicer than the one I bought my Nieces last year for Christmas, though roughly the same price.  Hopefully they skip this post. 😉

Homemade Lychee Ice Cream — I found a simple recipe online that was varied slightly to make the pictured Lychee Ice Cream.  It can (and should) be made in any Ice Cream Maker, because it’s fabulous and couldn’t be easier.  I lightened the recipe with Milk and less Cream.

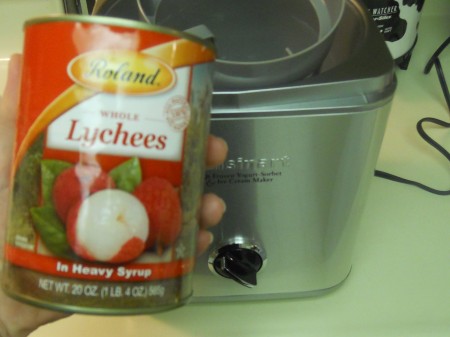
Ingredients:  (1) 20 ounce Can of Lychees, 1 3/4 Cups of Whole Milk, 1/4 Cup of Heavy Cream, 1/4 Cup of Sugar and the Juice and Zest of (1) Lime — All with an Ice Cream Maker.

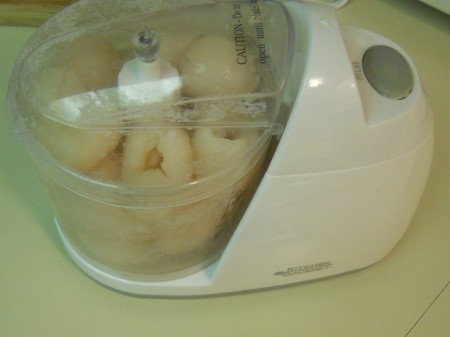
Directions:  Reserve the Lychee Syrup and puree the Lychee Fruit, then combine both with the remaining ingredients listed above.  Place ALL in an Ice Cream Maker and churn for 30 minutes.  That’s how long it took in this Cuisinart.  Pictured is the first batch made in it — A success.  The consistency and flavor couldn’t have been better.  The photos don’t do it justice.

Every Summer Weekend Day Should Be The Fourth Of July.

July 5th, 2011 1 comment

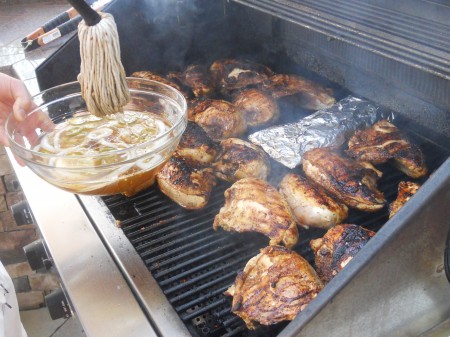
We appreciate Summer days, grilled Chicken and having fun — All should happen often.

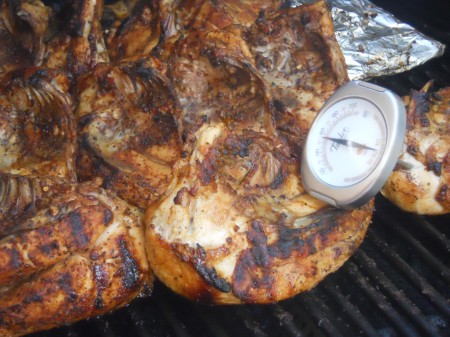
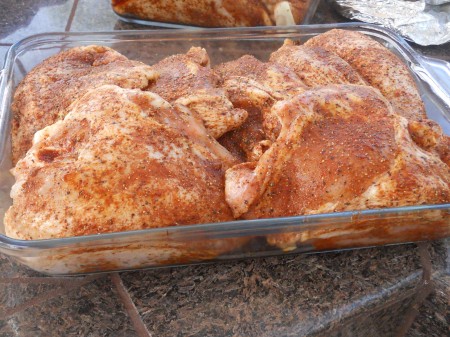
The pictured Chicken is reported to rival my family’s special recipe.

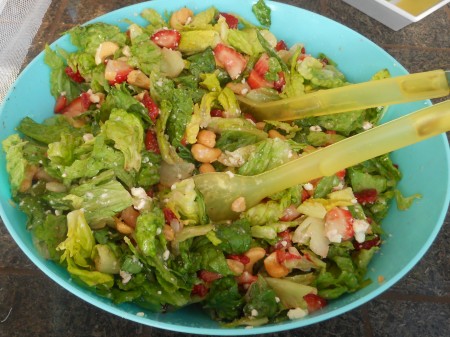
Providing IDEAS — Summer Salads with Strawberries and Cashews.

Strawberry Lemonade.

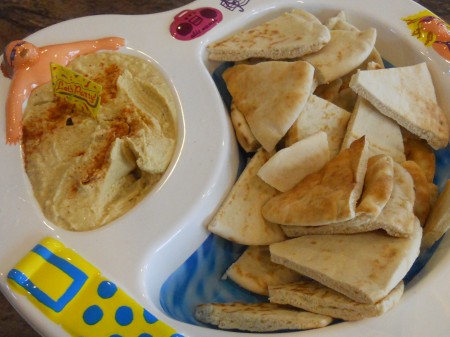
Homemade Hummus with Pita Bread.

Swimming.

A Water Balloon Fight — Enlarge the above photos for a better view.

The aforementioned Chicken this day was prepared with a Dry Rub by our friend David.

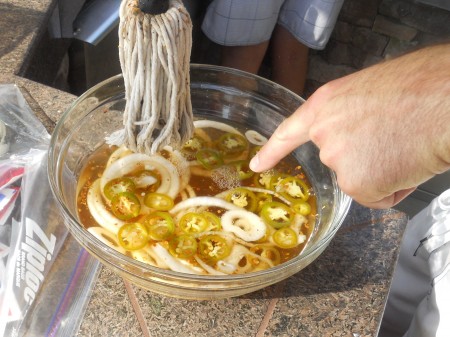
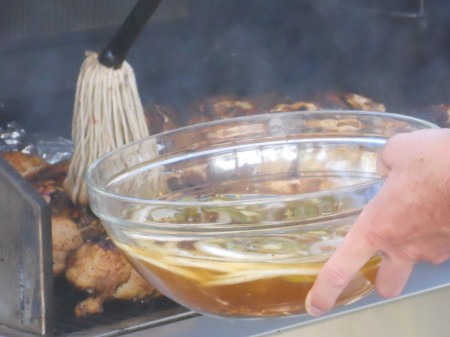
And then a Mop Sauce that’s applied to the Chicken while grilling.

He’s been making the recipe years and got it out of a BBQ cookbook to be linked here soon.

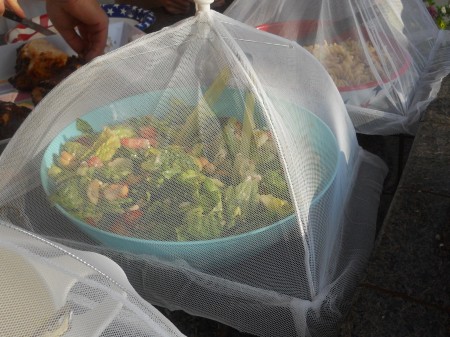
Food Tents help keep the bugs off.

The kids loved the Oreo Cheesecake Lollipops that were handed out this day.

Any Cookies will do.

My contribution was a Chocolate Cake with a Cream Cheese Frosting and Raspberries.

Some of the best memories are made during Summer Pool Parties or near the ocean.

How To Make (Or Not To Make) Chorizo: Unknown Cookbook Review.

June 30th, 2011 No comments

I get asked to review a lot of cookbooks, which is pretty cool.  Some I love and have used over and over, and others I’m not so sure about.  Just because a recipe makes it into a cookbook doesn’t mean it’s going to be good.  I’ve learned that the hard way many times.

I was recently reminded that all are not created equal, after a review of The Unknown Cookbook.  I appreciate the opportunity to try it, but the Chorizo (Mexican Sausage) recipe within tasted nothing like it.  Aside from that, it just wasn’t good.  Though the book will never be a favorite, I learned from the process.  In other words, it’s nice to know that I can make Chorizo without Salivary Glands, though this isn’t the recipe to do it.

All is posted to show that the method is easy with the right ingredients.

The pre-rolled Catfood-ish looking “Chorizo” (below) was a bit of a turn off.

Chorizo is better wrapped in plastic than intestines. 😉

We were excited about it, before we tasted it — Blah.

After being refrigerated for two days, we sliced it into patties and cooked it, then took a couple bites and tossed it in the trash.  I’m calling this the review of The Unknown Cookbook, so not to make the author feel bad.  We prefer to emphasize the positive and not hurt the sales of others with a bad review.  I’m sure there is something worth making in the book.  With respect to this recipe, we’re sticking with Soy Chorizo for now — We know it’s good.

Decaf Peach Iced Tea: A Beverage For Hot Summer Days And Nights.

June 27th, 2011 No comments

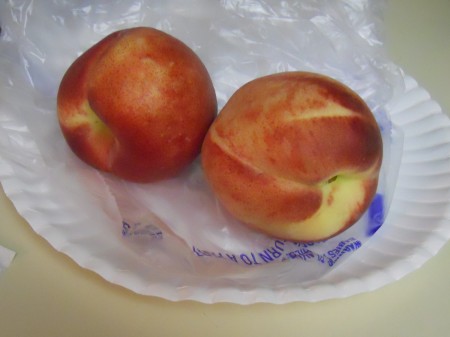
For some reason I always wanted to make Peach Iced Tea — It just seems like a refreshing Summer drink.  The pictured was made using two Peaches and three Decaf Green Tea Bags. 

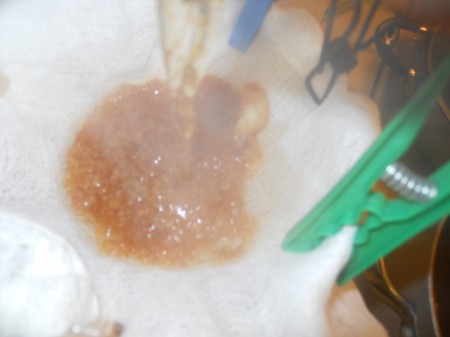
To make it — Peel, cut and puree the Peaches in a mini food processor, then strain the puree through Cheesecloth to produce the juice pictured in the above pitcher.

Then pour boiling Decaf Green Tea over the Peach puree, directly into the pitcher.

The Decaf Peach Tea is then chilled and served over Ice.

It turned out good, but needed more Peach flavor — Four Peaches will be better next time.

Yogurt And Granola: An Achievable Breakfast When You’re Not Ready.

June 8th, 2011 1 comment

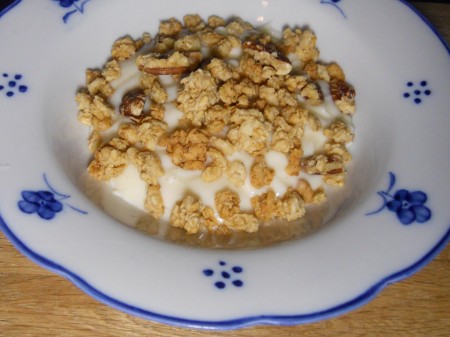
I’m rarely hungry in the morning, but know I “should eat breakfast” — If and when I do, it’s usually a V8, Jamba Juice, KIND Bar, Clif Bar, or some sort of bottled Green Juice.  It’s seldom a full breakfast, unless enjoying a special, leisurely weekend.  In that case it might be Huevos Rancheros or Eggs Florentine, but lately it’s been Plain Yogurt and Granola (with sometimes Berries).  How can it taste so crazy good?  It just does.  The tartness of the Plain Yogurt goes well with Granola and I’m really liking the Maple Pecan Granola Clusters from Fresh & Easy.

Artichokes With Walt’s Wharf Lea & Perrins Sauce At Home.

June 2nd, 2011 2 comments

Have you ever tried an Oak Grilled Artichoke at Walt’s Wharf in Seal Beach?  They serve one of the best Artichokes around.  The flavor of the grill combined with Walt’s Wharf Lea & Perrins Sauce is superb.  Since I don’t live as close as I used to, I make it at home.

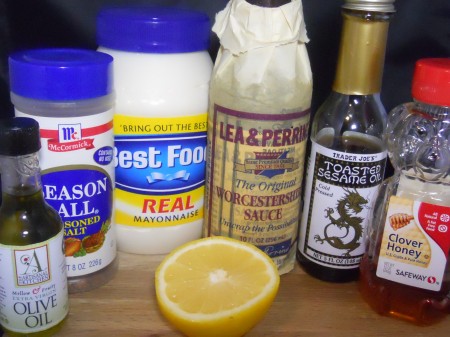
Ingredients for Walt’s Wharf Lea & Perrins Sauce — Mayonnaise, Lea & Perrins Worcestershire Sauce, Lemon, Sesame Oil, Olive Oil, Seasoning Salt and Honey.  Recipe is below.

Walt’s Wharf Restaurant first steams their Artichokes and then grills them over Oak Wood for extra flavor.  For ease, most of the time I just steam them, but do grill ’em on occasion too. 

I’ve had the recipe for about 20 years, as you can tell by its stained condition.

The Walt’s Wharf Lea & Perrins Sauce recipe is kept in one of four recipe binders created before Nibbles of Tidbits and a variation is linked here.  And semi-related, just because it’s in the same binder, is a photo from a recipe contest I won several years ago.  Lucky me.

On the subject of Artichokes, Lucille’s Smokehouse Bar-B-Que serves an amazing one too.

Note:  A link will be provided to Walt’s Wharf Restaurant when it’s operable again — They say it was recently hacked and are working on it now.  Check back.

06/03/11 Update:  The Walt’s Wharf website is still bogus, but a few of us are heading there (Walt’s and Seal Beach) this Saturday for the real deal and more.  We’ll see what’s goin’ down and update again.

How To Cook A Roast Fork Tender Every Time: Long, Low & Slow Baby.

May 22nd, 2011 No comments

Long, low and slow baby was my answer to a friend who asked how to make a Beef Roast turn out fork tender cooking it in the oven.  She wanted a recipe, but I didn’t have one.  I just know the framework.  I experiment too much, a big reason for Nibbles of Tidbits… to document successes and failures, to remake successful dishes and learn from the misses.  And luckily most Beef Roasts in my past have turned out tender, but you need to have the time (and patience) — It can easily be achieved in a Crock-Pot in 8 – 12 hours, or in the oven with a little more maintenance in 3 – 4 hours, depending on Beef size.  The provided recipe uses the oven.
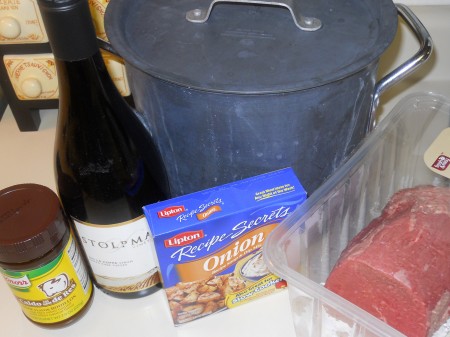
It’s not an original recipe, but one made by my Mom throughout my childhood — It’s not uniquely her recipe either and perhaps you’ve seen or made it before, HOWEVER it can be relied on to yield a consistently fork tender and tasty Beef Roast every time.  It’s easy too.
I made it a lot when I first moved out, though still had to call Mom to verify its simple ingredients (Beef, Beef Broth, Wine, Lipton Onion Recipe Soup & Dip Mix, Oil and S & P), as detailed in step-by-step photos and instructions.  Both Red and White Wine work well.
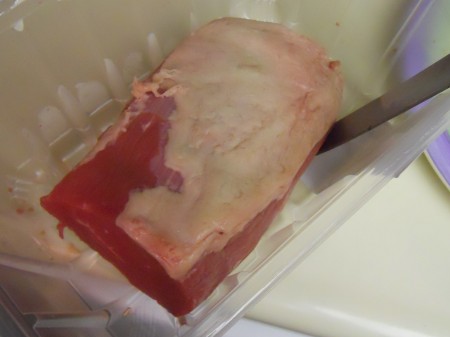
Trim the fat — You know, the area hidden at the grocery store, inevitably on the bottom.
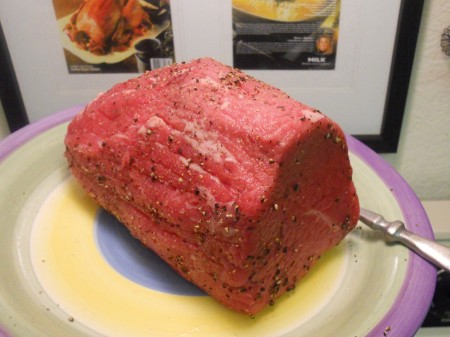
Over the years, I’ve found almost any cut of Beef works with this recipe.  I usually buy what looks good, what’s priced well and what expires last.  The one used here is 2 1/2 lbs.
RECIPE:  1 Beef cut (2+ lb. Top or Bottom Round, Eye, Chuck, Sirloin, Tri-tip, etc.), 2 Cups Beef Broth/Stock, 2 Cups Wine, 1 Packet of Lipton Onion Recipe Soup & Dip Mix, Oil and Salt & Pepper.  Combine all as shown and noted below to make a perfectly tender Beef Roast.
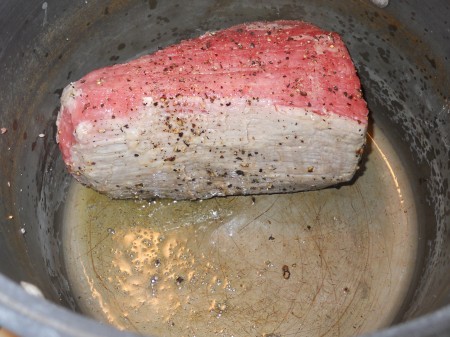
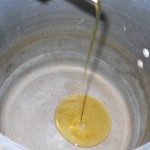
Preheat oven to 325° — S & P Beef and sear on all sides in a little Oil.
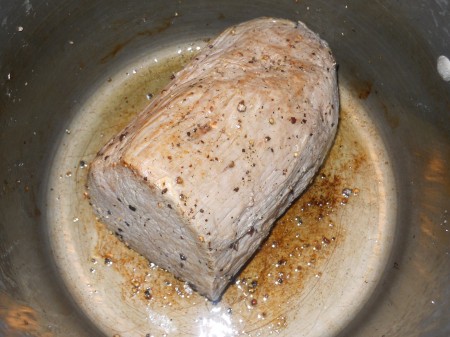
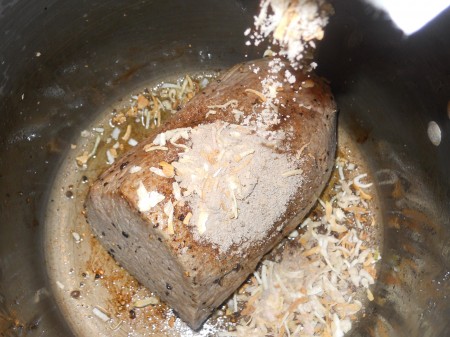
Turn off burner and add Lipton Onion Recipe Soup & Dip Mix to the pot.
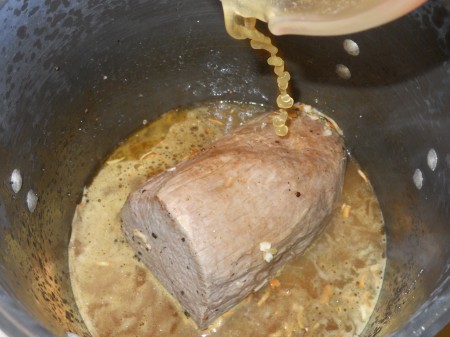
Add the Beef Stock/Broth.
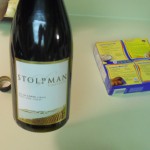
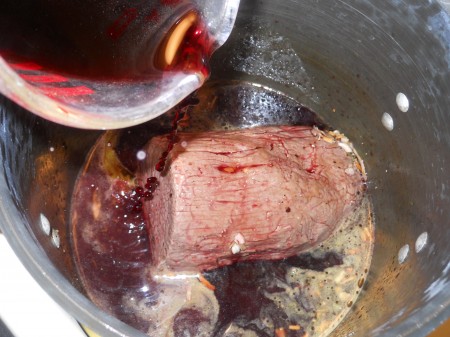
Add the Red or White Wine — Note that Red Wine will darken the Beef a bit, which is sometimes a good reason to use White Wine.  It could make final presentation prettier.
All is combined and ready for a 3 – 4 hour oven tour — At this point, I need to point out a major faux pas… The pot I used to make the pictured Roast is way too large/tall, which allows excess air around the Beef, thus drying it out.  It was still flavorful and flaky, but drier than preferred.  For best results, prepare the Beef Roast in your smallest Dutch oven.
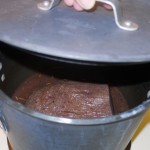
Cover and bake in the oven.
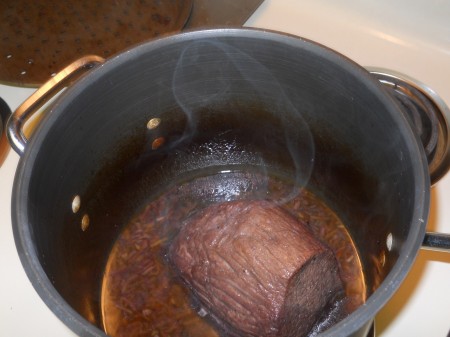
Turn Beef every 45 minutes or so.
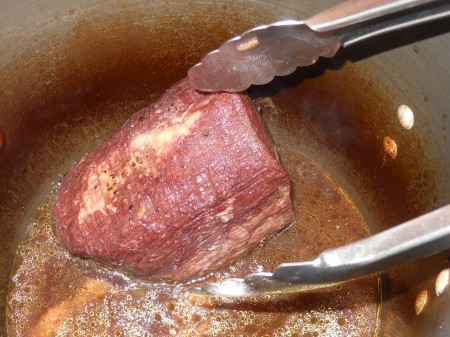
Turn again.
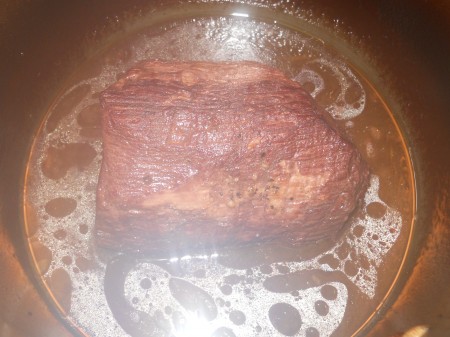
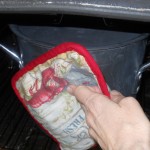
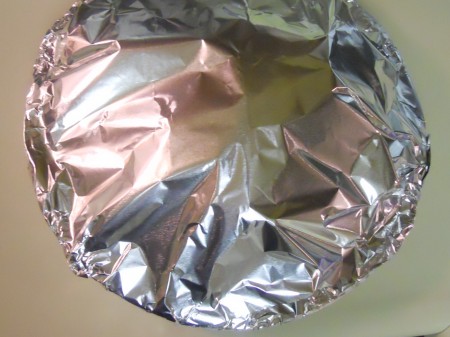
After 3 1/2 hours, remove Roast from pot, wrap in foil and let rest for at least 15 minutes.
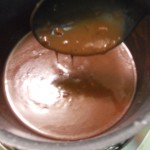
Make a quick Gravy by boiling the remaining liquid with a little Flour and Water.

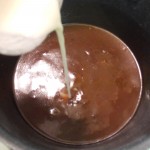
RECIPE Alternate:  Mom prepares her Roast in a smaller pot, as recommended, and simply combines (1) Can of Beef Broth, (1) Can of Wine (using the Broth can) and Lipton Onion Recipe Soup & Dip Mix — Cooked at 325° for 3 – 4 hours depending on Beef size.  Need more info?
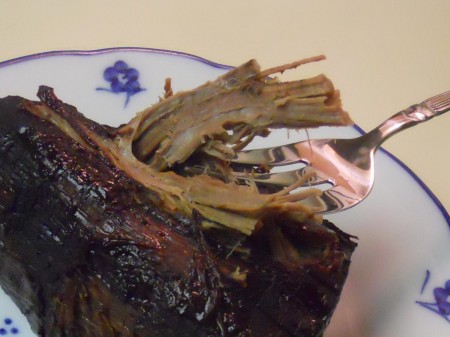
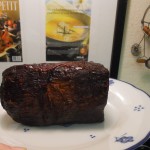
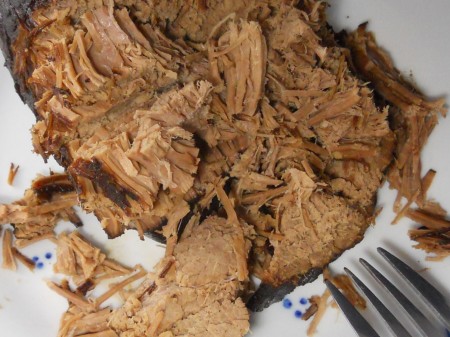
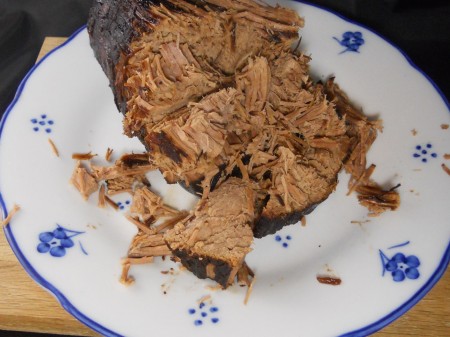
It pulls apart easily, ideal for Sandwiches, Tacos, Burritos and more.
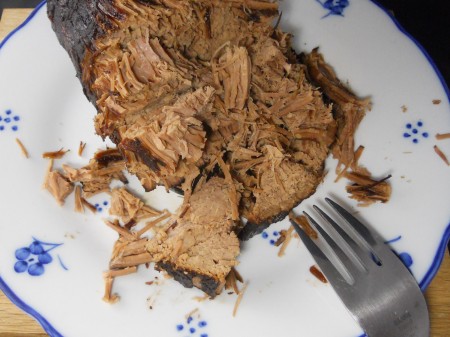
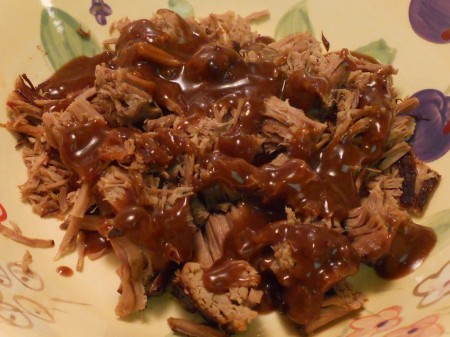
Or just shred and top with favorite Gravy — It’s how I like it best.
This post was prepared in response to a friend’s question and for submission in the Orange County Fair’s Culinary Arts Food Blog Post Competition.  And the next Beef Roast will be tender (a happy given) and less dry with a smaller pot to fix it — An educational reminder that sometimes size does matter.  And now it’s documented to further success.

Bonus:  Another Beef Roast recipe, a Chipotle Baracoa Beef copycat I developed is linked.  It’s pretty darn good, if I do say so myself, and others think so too.  Always good, bad and funny.

Homemade Box Of Chocolates: Not As Pretty But Grandma Loves Them.

May 9th, 2011 No comments

It’s easy to make your own Box of Chocolates — It doesn’t take much time either, especially with a microwave and a good selection of Chocolate, Nuts, Fruit and decorative boxes/bags.

They turn out great if you don’t overcook the Chocolate — Always heat it in short (30 – 50 second) intervals at 50% power, stirring in between.  Melted it becomes a velvety canvas.

Almonds and Peanuts from a leftover party platter were used to make Nut Clusters.

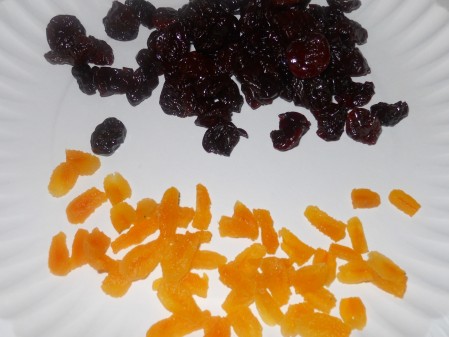
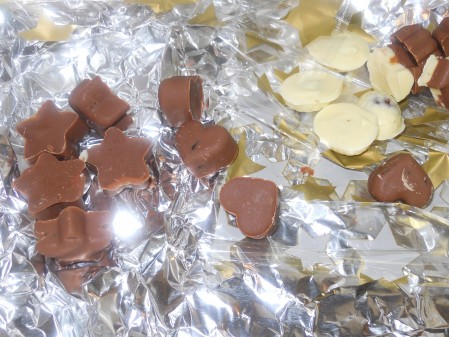
Molds were filled with Milk and/or White Chocolate and stuffed with an Almond, Dried Apricot or Cherry, then topped off with more melted Chocolate and settled until firm, then foil wrapped.

Dried Apricots and Cherries were used to make this batch — Choose what you like best.

Toasted Coconut was used to make Milk and White Chocolate Haystacks.

Pecans and Toffee were used to make Turtles and Marshmallows and Almonds were used to make Rocky Road.  Milk, Dark and White Chocolate was utilized for markings and assortment.

Each Chocolate piece was marked, molded and/or prepared uniquely to be identifiable.

Giant Box of Chocolates (above).

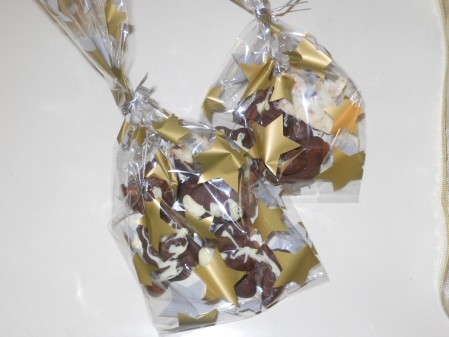
Overall, they’re not as pretty as those you buy, but clean up well when placed in a cute box or cellophane bag — And could mean even more to a loved one.  They taste great too.

I also experimented with broken Graham Cracker pieces — I topped them with Marshmallows, broiled the tops in the oven and dipped ’em in melted Chocolate (pictured above), before covering them with Chocolate.  The S’more Bites ended up being a favorite.

Southern Living’s Big Book Of Cupcakes: Monkey Bread Jumbo Cupcakes.

April 25th, 2011 No comments

I appreciate the opportunity to test out Southern Living’s Big Book of Cupcakes.  It became available April 12th and timely arrived, as I had just begrudgingly returned Martha Stewart’s Cupcakes cookbook that was loaned through Bookswim.  And I’m still not done with Cupcakes.

The Big Book of Cupcakes bakes up 150 recipes and provides tips to satisfy any sweet tooth.  It’s reported that its author, Jan Moon transforms basic Cupcakes into brilliantly creative Dreamcakes with the whip of a whisk, although no whisk was needed for the pictured.

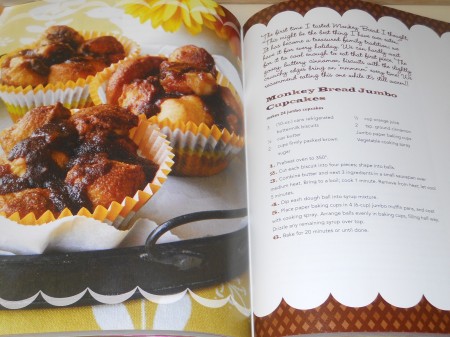
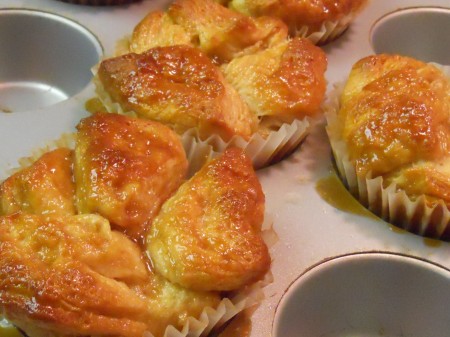
I have several pages tabbed, but started with the Monkey Bread Jumbo Cupcakes.

I first chose the Monkey Bread Jumbo Cupcakes, due to ease and the love of Monkey Bread.

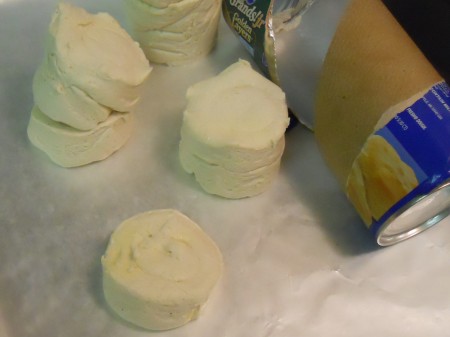
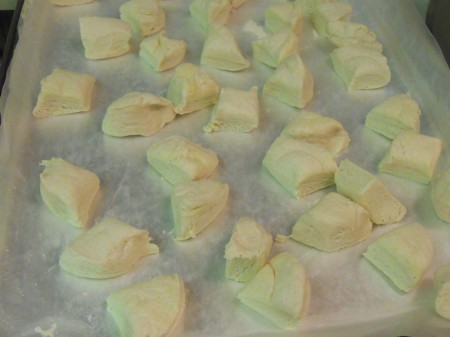
No batter is prepared, since they’re made with Biscuits cut into fourths.

The recipe says to spray the Cupcake liners with a non-stick spray — I’m not sure if it’s necessary, but did it anyway.  If I didn’t, would they stick to the paper?  I’m not sure.

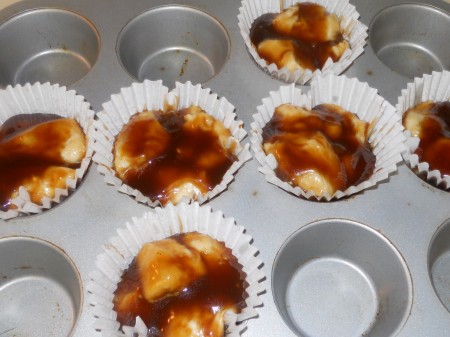
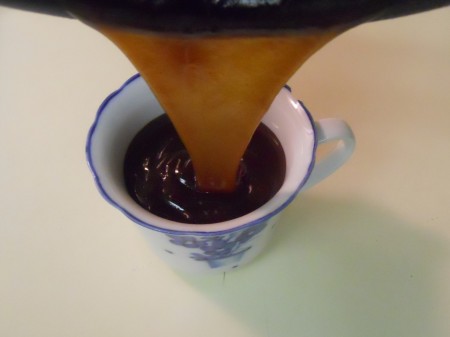
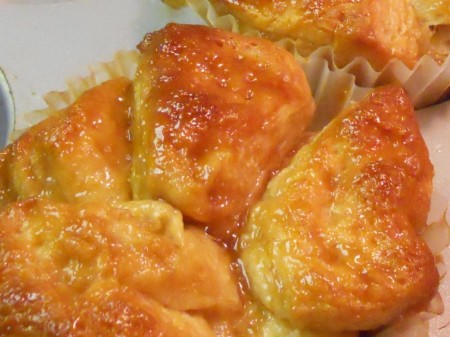
The Caramel Sauce aka Syrup mixture is made with Orange Juice, Brown Sugar, Butter and Cinnamon that thickens after boiling — The Biscuit quarters are then coated with the Syrup.

And then placed into Cupcake liners, as shown.

Instead of making 24 Monkey Bread Jumbo Cupcakes with (3) cans of Biscuits, I tested the recipe using (1) can, which produced 6 Cupcakes and leftover Syrup for another batch or two.  Since unsure of its yield, I sprayed more Cupcake liners than necessary.

I saved the Syrup for the next Biscuit purchase — I’ll update this, if something new is learned.

After assembly, they’re baked in the oven for 20 minutes at 350°.

And they’re more beautiful in person than in the book — My co-workers fought over them.

They were easy to make, but a little messy when dunking the Biscuits into the thickened Syrup.  The recipe says to shape the Biscuits into balls, but I found that step unnecessary, since the shapes change when dipping ’em into the Syrup.

Like all Southern Living cookbooks I’ve tried thus far, the Big Book of Cupcakes is a winner.  If you want to make these Cupcakes, the recipe is pictured above, or I recommend buying the cookbook for it and other delicious looking recipes.  Thanks for the review copy!

Perfecto Racko Of Lamb: This Recipe Goes In The Public Vault.

April 21st, 2011 No comments

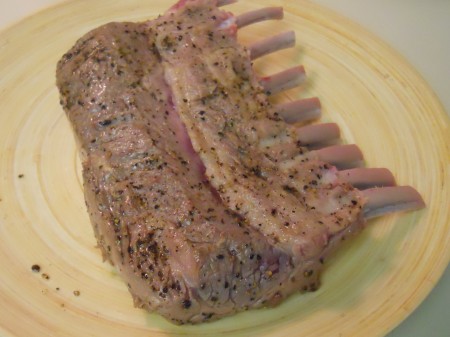
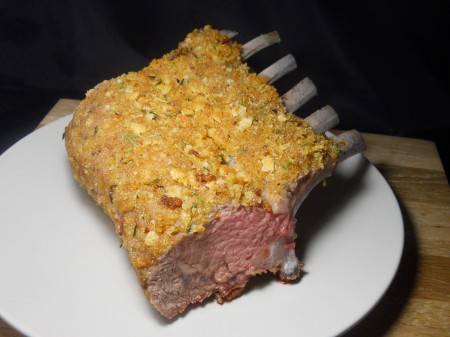
Before cooking this Rack of Lambo, I watched a couple short videos and read a few blogs.  Since Lamb isn’t cheap, I wanted to cook it right.  Although I didn’t trim ’em that skillfully, they could not have tasted better.  I’m now saving this recipe for a special occasion. 

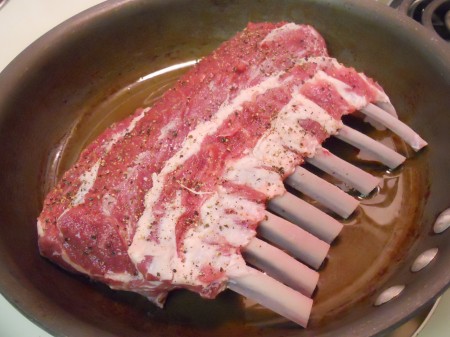
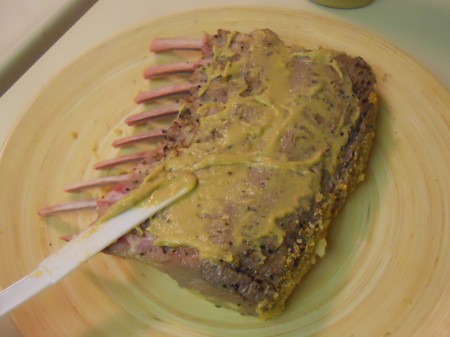
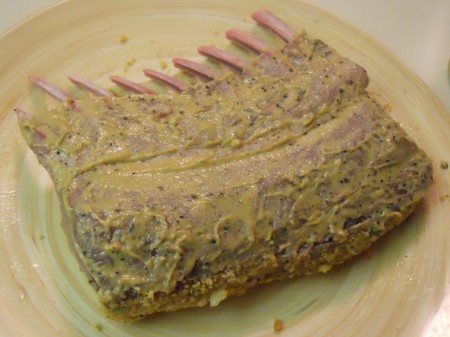
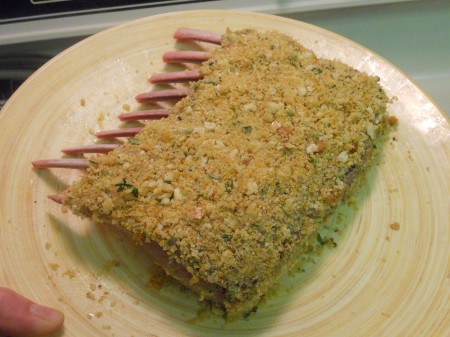
A perfect Rack of Lamb step-by-step (loosely) in photos — S & P and sear the meat for a minute on each side.  Next time I’ll get the pan hotter.  Remove Rack from pan and set aside.  Prepare an Herb Bread Crumb mixture to crust the Lamb.  Preheat oven 375°.

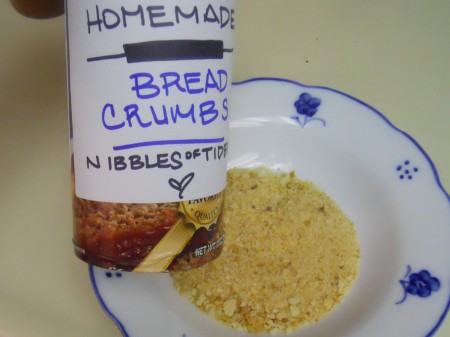
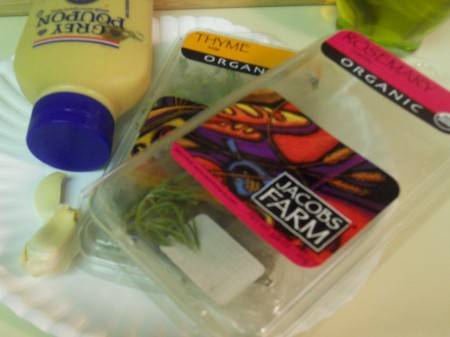
The ingredients… Dijon Mustard, Bread Crumbs, fresh Garlic, Thyme and Rosemary and Olive Oil.  I just so happened to have Homemade Bread Crumbs on hand (as presented), in a makeshift package comically fashioned for a competition a few months ago.

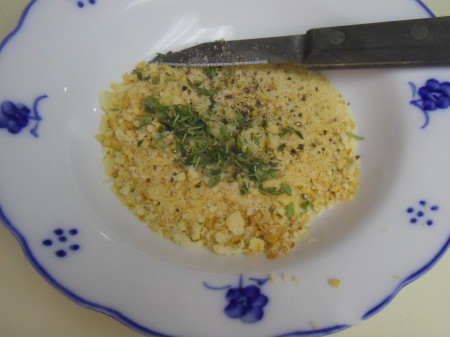
Combine the Bread Crumbs with chopped Garlic, Rosemary, Thyme, S & P and a little Olive Oil.

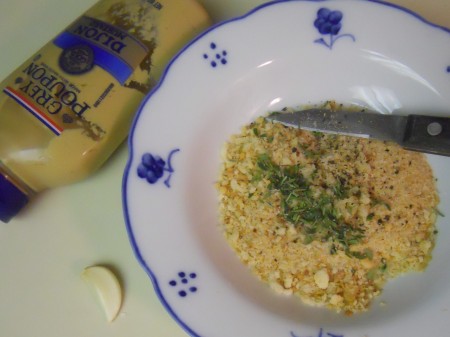
Mix.

Paint a layer of Dijon Mustard on the seared Rack of Lamb.

Then press on the Herb Bread Crumb Crust.

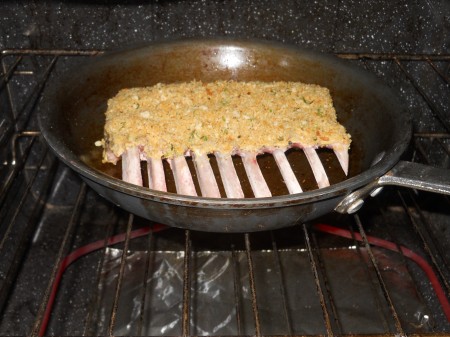
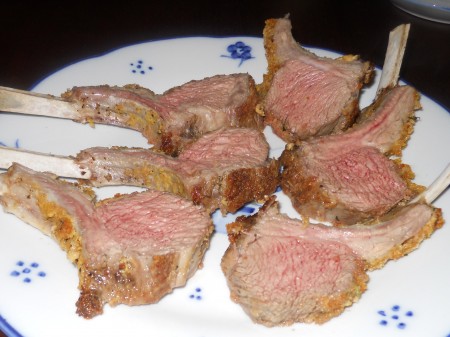
It’s then ready to be baked in the oven for 20 minutes at 375° — It sounded a bit long and high to me, but worked perfectly, if you prefer Lamb medium rare, as pictured.

Into the oven.

Out of the oven.

Cut Rack into Chops, then onto the plate, after resting 5 – 10 minutes.

This Rack of Lamb was made in attempt to finally have a satisfying amount of Lamb Chops in one sitting.  It’s never happened before, since they’re usually shared as an appetizer and dinner plates generally max out at 5 – 6.  I thought this would be enough to satify the challenge, but it surprisingly wasn’t.  This Mary could’ve had 2 – 3 more little Lambs, sorry.  And it’s good to know that I can easily make more.

On The Quest To Make Everything Once: Perfect Rack Of Lamb On A Whim.

April 20th, 2011 No comments

Perfecto! Rack of Lamb pictured on Few Words Wednesday more for Show & Tell Thursday.

Quick Dip Mickey Moused Chocolate Dipped Oreo Cookies.

April 14th, 2011 No comments

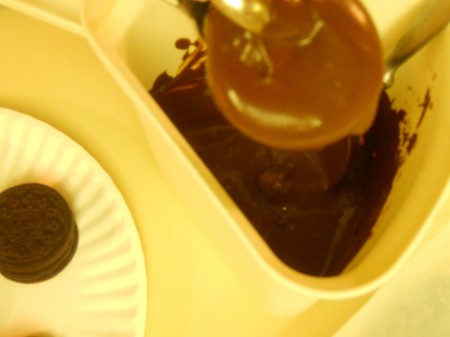
Quick Dip — Is that an oxymoron?  Chocolate was melted in the microwave and Oreo Cookies were being dipped 5 minutes from commencement.  And Mickey Moused, because Chocolate wasn’t tempered, nor mixed with wax, cream or butter.  Instead, Milk and White Chocolate Chips were separately melted at 50% power, in approx. 50 second intervals and stirred in between.  It was fast and turned out good, but not as great as those you buy, or the ones my friend Loretta makes.  I don’t think she’d approve of these, but we’re always experimenting.

I was most proud of the design I created on the White Chocolate Dipped Oreo above.

Dippin’ leftover Oreos in Chocolate, from the Cookies and Cream Cheesecakes we made.

Haphazard about thickness and decoration, but wanted to make ’em quick.

All was made in about 10 minutes, which is obvious looking at some.  Next time I’ll pipe the Chocolate through a baggie tip rather than use a spoon — Better design control, less sloppy.

Funny thing, growing up I wasn’t an Oreo Cookie fan and when I did have them, I’d eat the outsides and throw away the middle.  I hadn’t purchased them in years and this time didn’t need to ditch the middle.  Is there less than there used to be, like too many things?

Oh Oh O’ReeO: Martha Stewart’s Cookies And Cream Cheesecakes.

April 13th, 2011 No comments

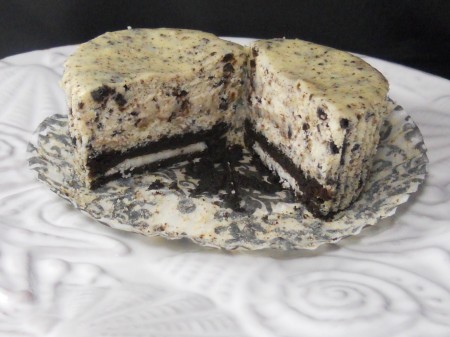
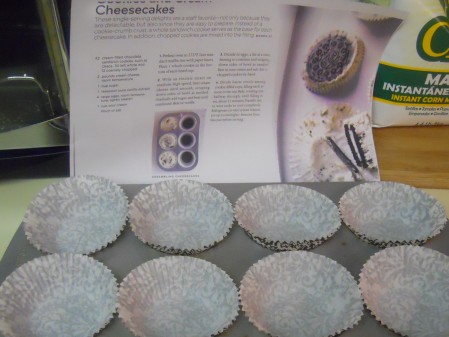
Have you heard of Bookswim?  It’s the Netflix of books.  The library that comes to you.  I love it.  It’s a great way to test out books, or read a lot of them for less money.  Through Bookswim I checked out Martha Stewart’s Cupcakes cookbook and chose to make the Cookies and Cream Cheesecakes.  The recipe is in her book and it’s also been reported about by several food bloggers, as found here and halved here.  It’s an easy and luxurious dessert.

Since I REALLY didn’t need 30 Cheesecakes, I halved the recipe, which worked very well.

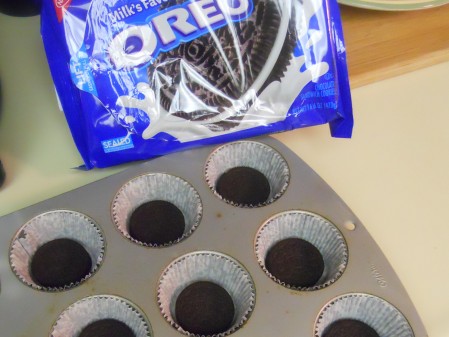
Start with a Muffin tin with paper liners and an Oreo Cookie for the bottom Crust.

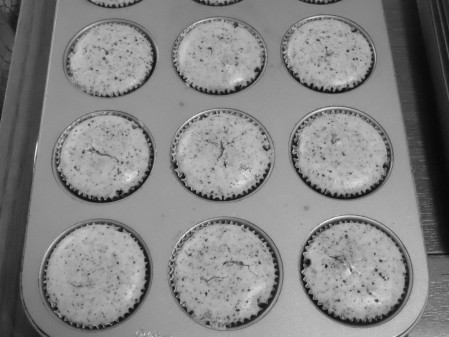
Combine the other ingredients as specified and pour over each Oreo Cookie and bake.

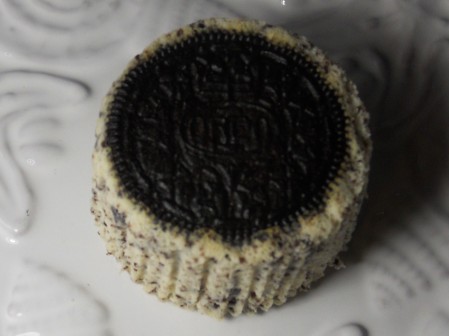
They look special in B & W, color and upside-down, and taste great too.  I’ll make ’em again.